Hi! As we make progress in making a demo for Outer Wonders, our technology is improving and becoming increasingly capable of displaying visually-rich scenery. In this week's blog post, we will tell you more about how scene rendering is performed in Outer Wonders!
A pixel-art-oriented rendering system
If you've read other blog posts here or if you have taken a look at screenshots of Outer Wonders on Twitter, Facebook and Instagram so far, you probably know that the art style of Outer Wonders is all about pixel art.
This has several practical implications:
- all sprites, as well as the camera, must have their borders aligned on screen pixel boundaries;
- any kind of filtering must be disabled.
As an example, here are two different rendering outputs for Bibi.
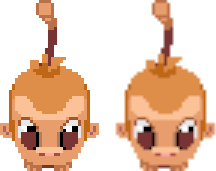
On the left, Bibi was rendered without any filtering, preserving its pixel art look. On the right, on the other hand, Bibi was rendered with filtering turned on, as typically implemented by default in most game engines, causing it to appear blurry. This is why we perform our rendering as presented above on the left.
The hidden depth of the scene
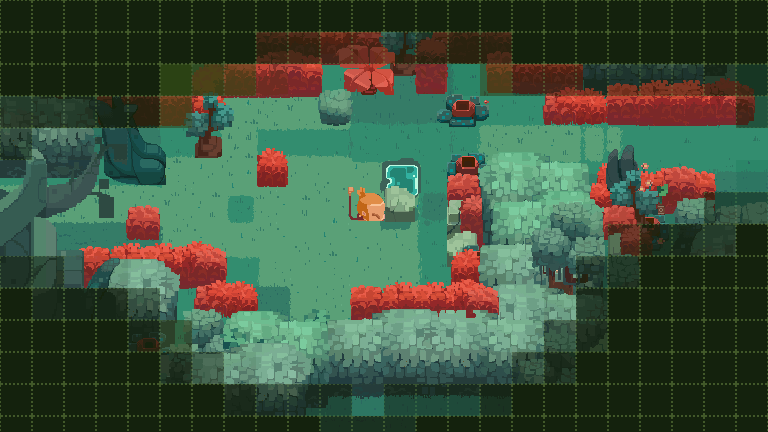
In order to bring additional visual richness to the scenery viewed from above in Outer Wonders, we have designed a layering system for our scenes.
Using our tools, we can arrange scene parts on top of other scene parts. Bibi is included in this system as well.
For instance, check out how our system render our latest puzzle posted on Twitter, Facebook and Instagram below. In each frame, 2 layers are added on top of the previous frame.
Using atlases for efficient rendering
In order to achieve greater efficiency, minimizing the amount of distinct textures used in a single scene is essential, even if it means making use of larger textures.
This is why, upon loading puzzles, scene parts are packed in texture atlases (also referred as sprite sheets), that is, larger textures made up of many sprites.
An atlas is a combination of sprites, as shown in the example made up of 3 sprites below.
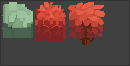
A single atlas can be used as a source for displaying many sprites. Check out the example below.
Bonus: rendering pixel art text
The concept of atlas can actually be reused in order to support the rendering of text! There are many different ways to render text, but the use of atlases made up of all the characters needed is very common in pixel art games.
The example below show how the text "Bibi is cute." can be rendered as pixel art using an atlas made up of the characters from the Digital Disco font currently used in Outer Wonders.
And this concludes this blog post! Follow us on Twitter, Facebook and Instagram to read our news and play weekly puzzles! Subscribe to our RSS feed to keep informed about our latest blog posts. A Discord community server is also on the way.
See you soon!